Building the Test Cluster
To ensure that the results between tests are as comparable as possible, I’m using a consistent hardware setup whenever possible. Rather than use a cloud provider I (with the help of Nova) set up a rack with a few different nodes. Using my own hardware allows me to avoid the noisy neighbor problem with any performance numbers and gives me more control over simulating network partitions. A downside is that the environment is not as easily re-creatable.
Building the Rack
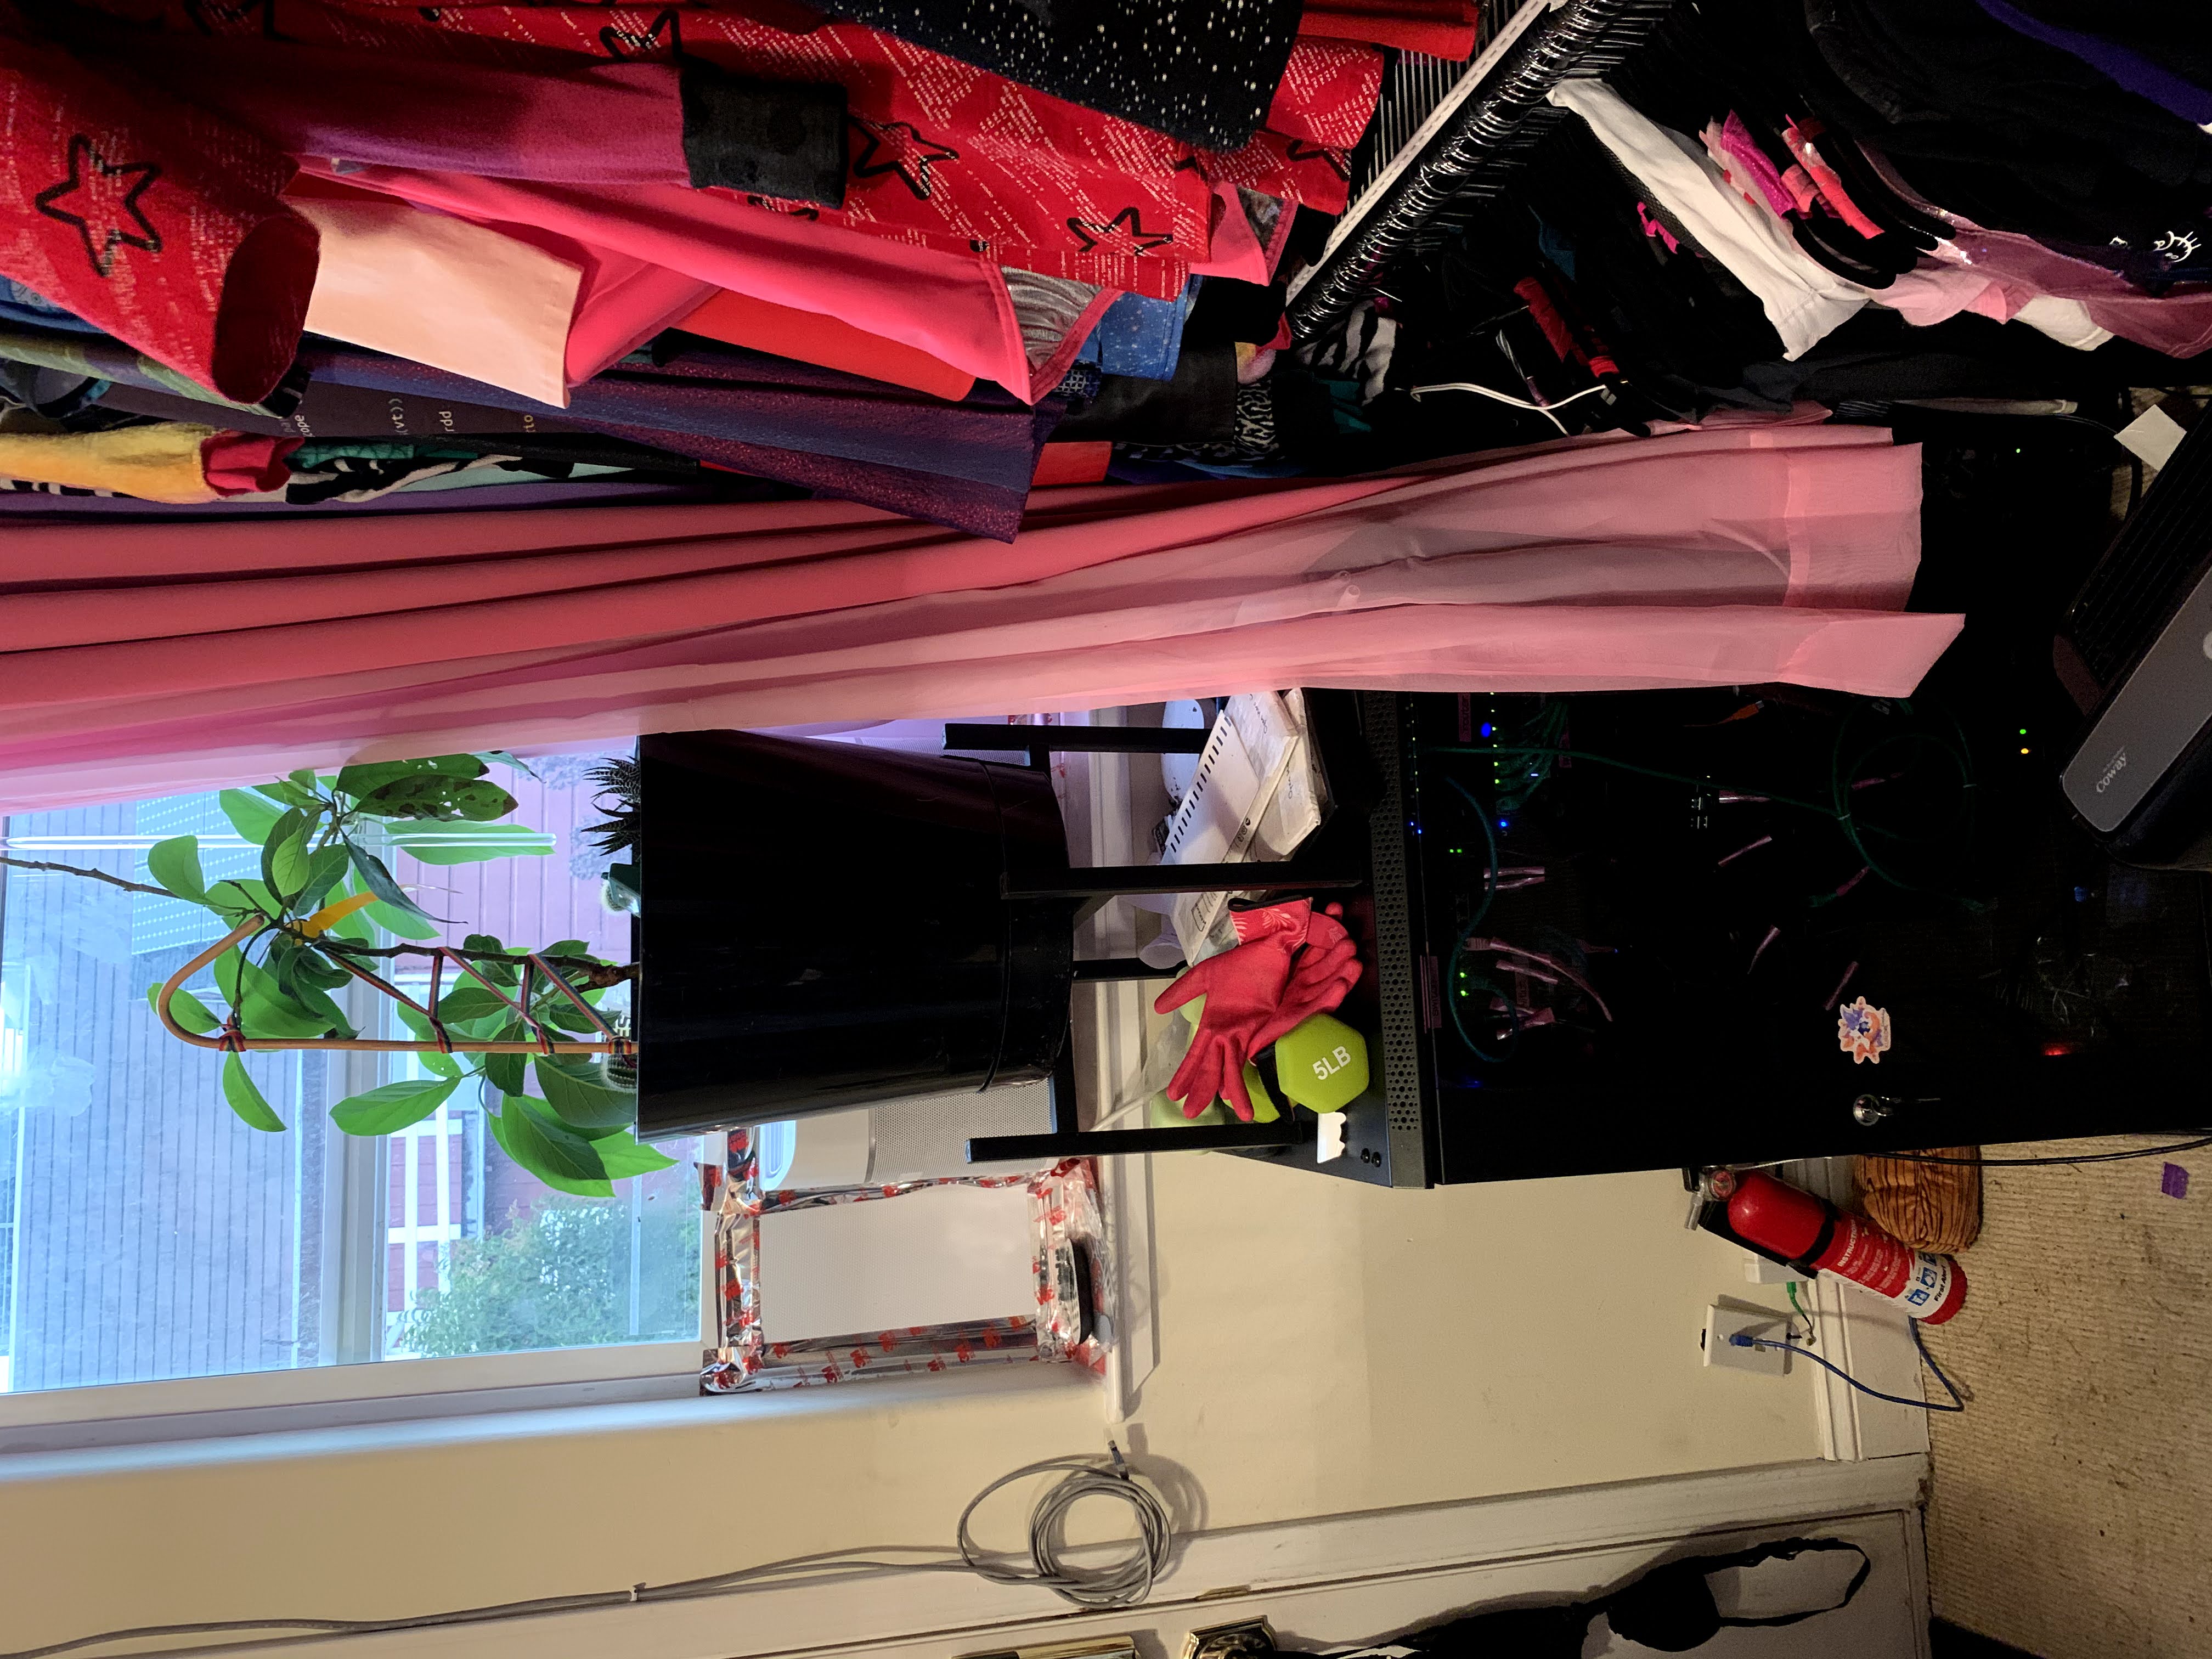
If I’m honest, a large part of my wanting to do this project is that ever since I was a small kid, I’ve always dreamed of running “proper” networking gear (expired CCNA club represent). I got a rack and some shelves. (I also got an avocado tree to put on top and a cute kubecuddle sticker for good luck)
It turns out that putting together a rack is not nearly as much like LEGO as I had imagined. Some of the shelves I got ended up being very heavy (and some did not fit), but thankfully Nova came to the rescue when things got too heavy for me to move.
After running the rack for about a day, I got a complaint from my neighbor about how loud the fan was, so I swapped it out for some quieter fans.
The Hosts
The hosts themselves are a mixture of machines. I picked up three Rasberry Pi 4Bs. I’m also running a Jetson Nano and three Jetson AGX Xavier’s to allow me to experiment with GPU acceleration. To support any x86 only code, I also have a small refurbed x86 present.
For storage I scrounged up some of the free flash drives I’ve gotten from conferences over the years to act as storage. This initial set up was not very fast, so I added some inexpensive on-sale external SSD drives.
Setting up Kubernetes
Since I want to be able to swap between the different Python scaling tools easily, I chose Kubernetes as the base cluster layer rather than installing directly on the nodes. Since it is easy to deploy, I used K3s as the cluster manager. The biggest pain here was figuring out why the storage provisioning I was trying to use wasn’t working, but thankfully Duffy came to the rescue, and we figured it out.
What’s next?
Up next, I’ll start exploring how the different tools work in this environment. At the very start, I’ll just run through each tool’s tutorials and simulate some network and node failures to see how resilient they are. Once I’ve got a better handle on how each tool works, I’m planning on exploring how each of them approaches the problem of scaling pandas operations. Once that’s done, we can start to get in a lot deeper and see where each tool shines. If you are interested in following along, check out my Youtube Channel on open source programming where I will try and stream the process that goes into each post. You can also subscribe to the mailing list for notifications on this on my books when I get something working well enough to make a new post :)
Disclaimer
This blog does not represent any of my employers, past or present, and does not represent any of the software projects or foundations I’m involved with. I am one of the developers of Apache Spark and have some books published on the topic that may influence my views, but my views do not represent the project.
In as much as possible, I’ve used a common cluster environment for testing these different tools, although some parts have been easier to test out on Minikube.